Part 5: Retrieving Results#

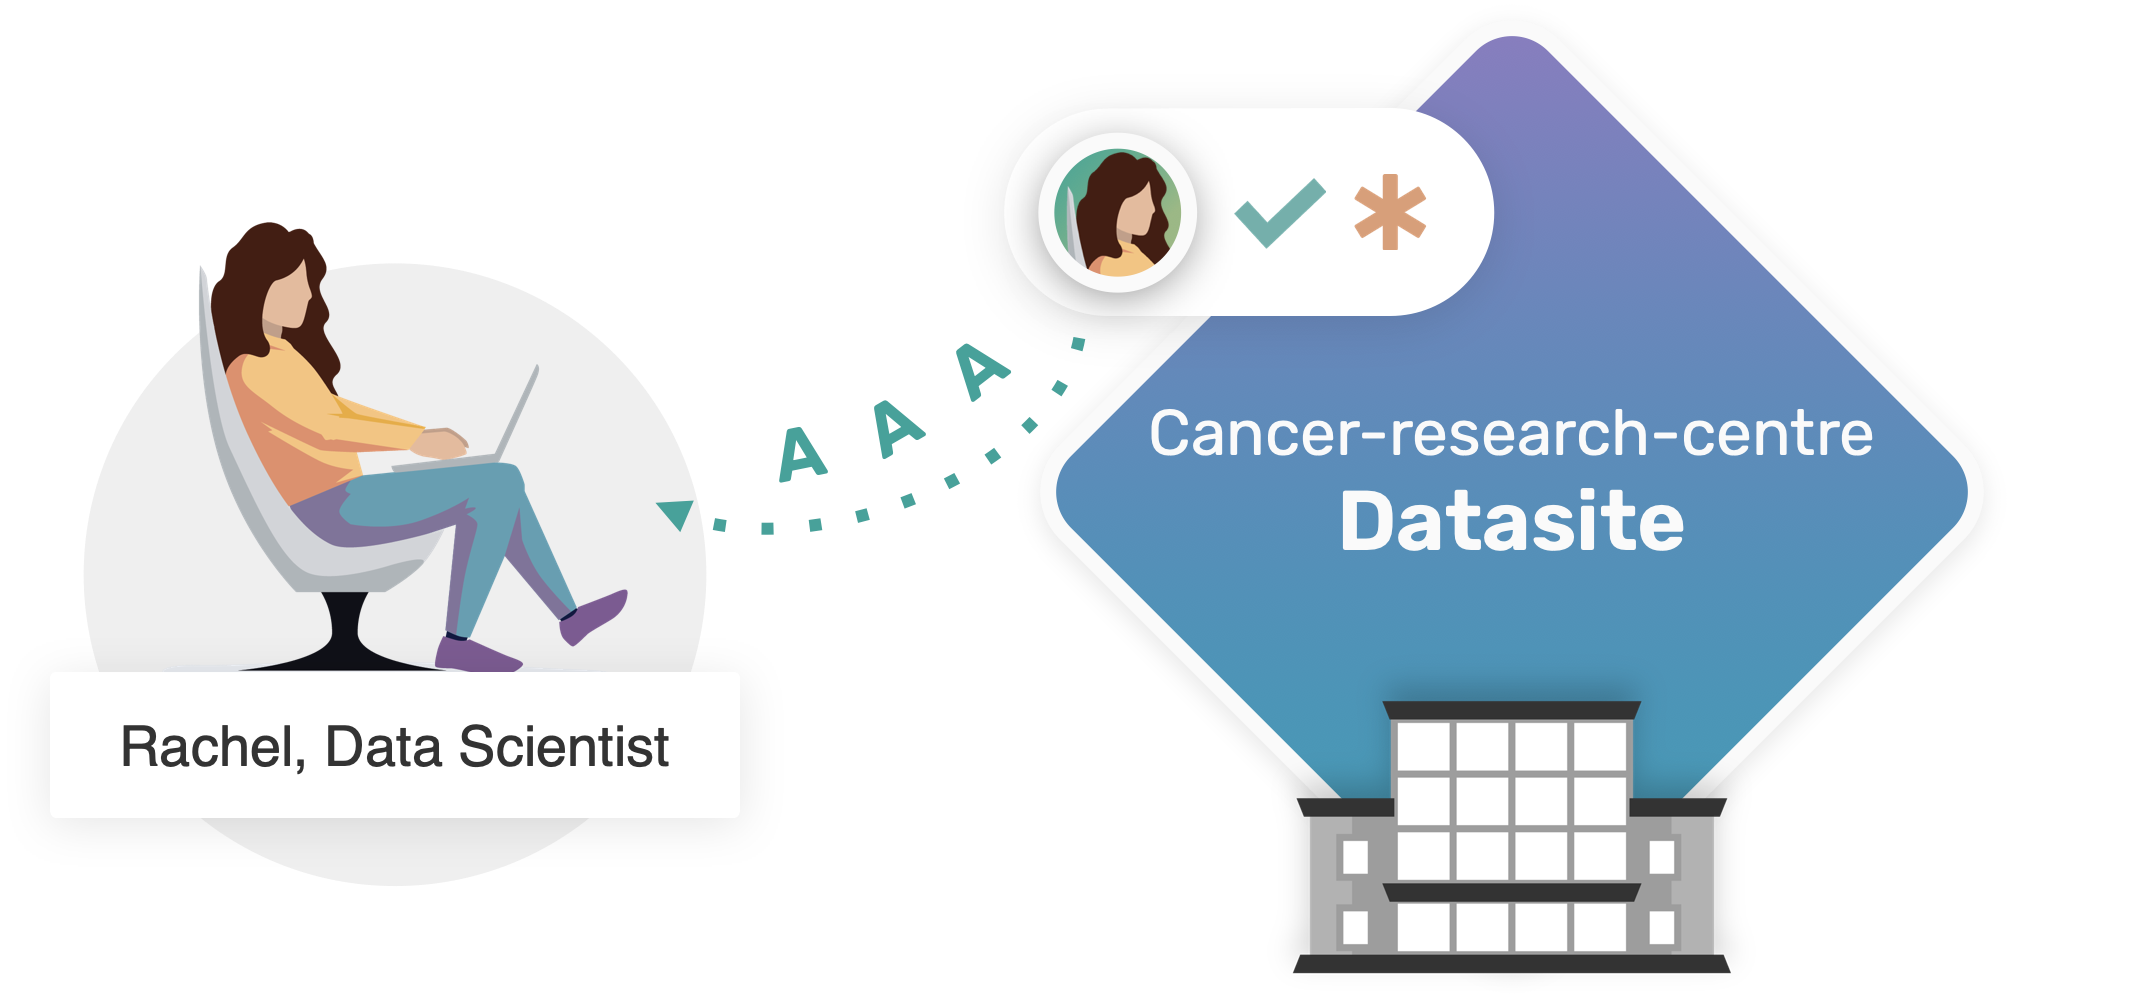
We have now reached our last step in the tutorial. It is finally the time for Rachel to check the status of her request and, if approved, to retrieve the results of the analysis she is expecting by running her code on the real (non-public) data.
What you will learn#
By the end of part 5 you will learn:
How to check the status of sent requests;
How to retrieve the result of a code requests.
 5.1. Check the status of Sent Requests#
First thing to do, is always to connect to the Datasite:
As expected, the very first thing to do is always to log in to the Datasite, making sure that the local development server is up and running.
import syft as sy

data_site = sy.orchestra.launch(name="cancer-research-centre")

client = data_site.login(email="rachel@datascience.inst", password="syftrocks")
If we were to check the status of our request, we can do so by accessing client.requests:
client.requests
🎉 Whoot whoot!
Our request has been approved by the Data Owner. All we need to know now, is to execute our code, and gather the expected results.
 5.2. Retrieve the result on real data#
First, we need to get a reference to the syft.Dataset we intend to use. In our scenaio, we will use the two assets, i.e. features and labels, as included in the “Breast Cancer Wisconsin (Diagnostic)” dataset.
bc_dataset = client.datasets["Breast Cancer Biomarker"]
features, labels = bc_dataset.assets
We can now compute the so long desired result:
result = client.code.ml_experiment_on_breast_cancer_data(features_data=features, labels=labels).get()
result
Congrats on completing Part 5 🎉#
Congratulations for completing part 5 of the tutorial. This was the last part of the tutorial, PySyft from the ground up.
In this part we have learnt how to check the status of sent request, and how to retrieve the results of the remote computation for approved ones.
This tutorial completes the overall description of the basic data science workflow in PySyft.

