PySyft from the ground up#
Let’s start our journey from the ground up to learn how to use PySyft. Throughout this tutorial, we will walk through the main steps of the data science workflow enabled by PySyft, and we will learn how PySyft enables data science on non-public data, without obtaining nor seeing a copy of the data itself.
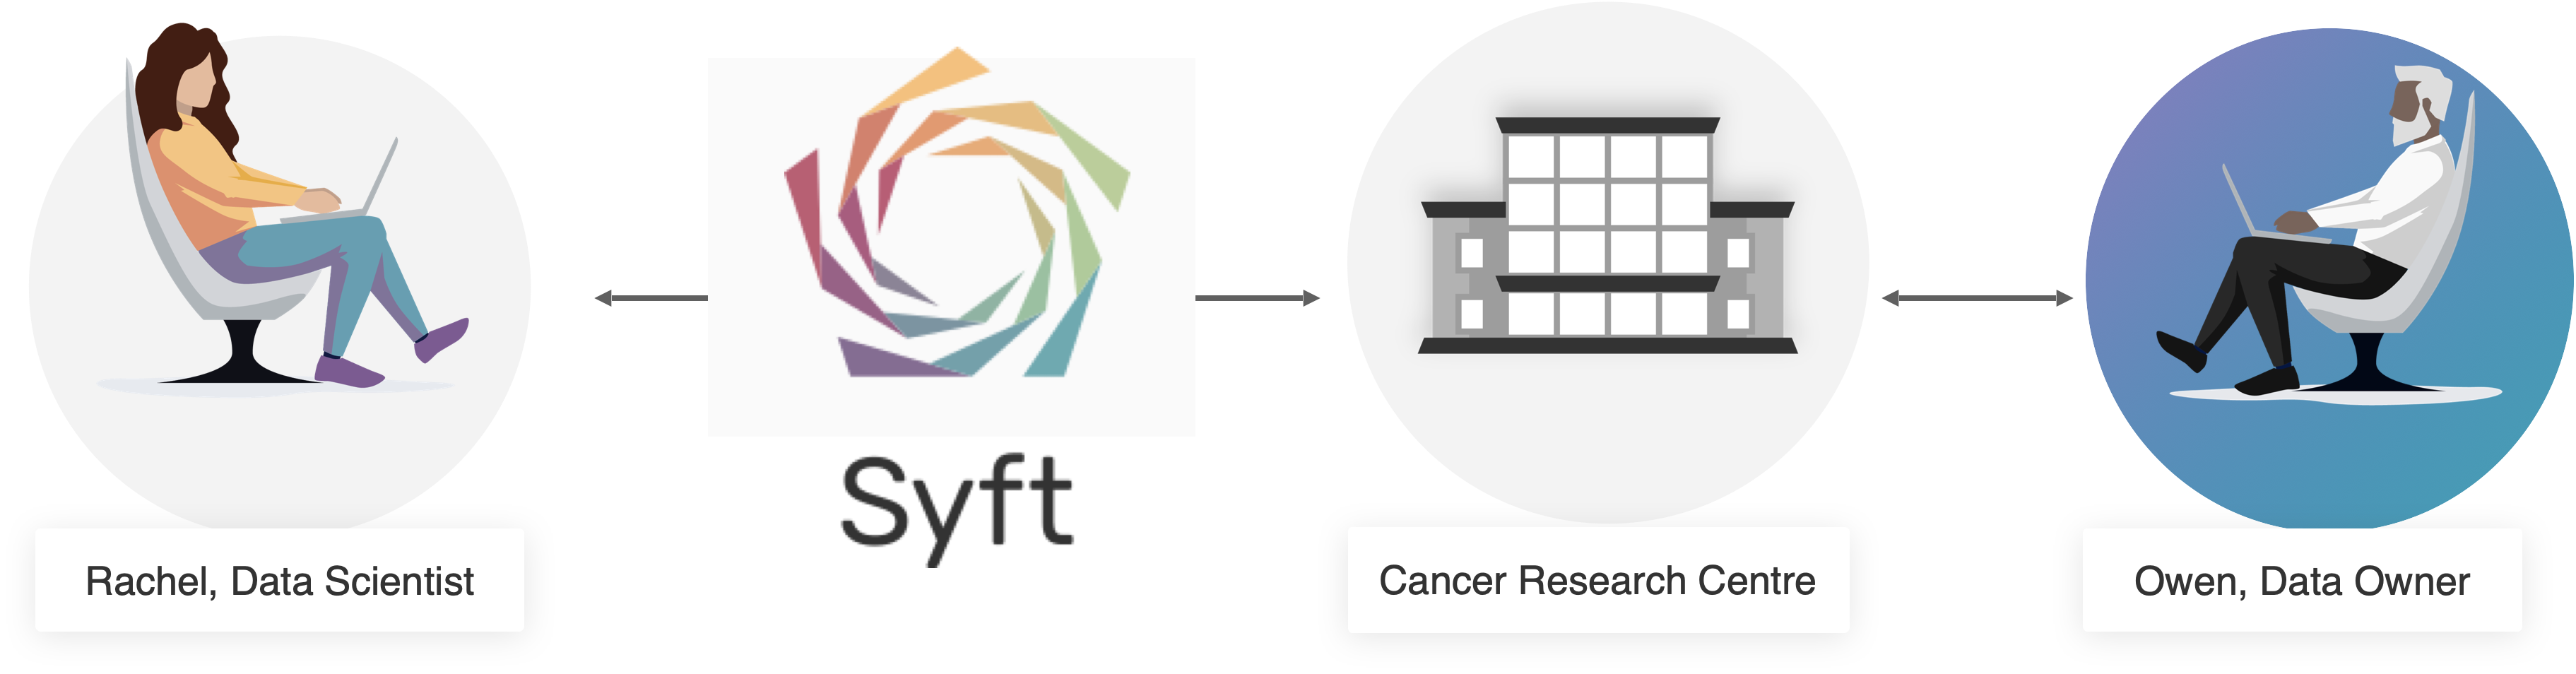
Example: Breast Cancer Data Study#
What better way to learn than learning from a practical use case ?
In this tutorial, we will use PySyft to study Breast Cancer Data. In our scenario - briefly summarised in the picture above - there will be two main characters:
 Rachel, Data Scientist:#
Rachel is a Data Scientist, and researcher who is working on a project using Machine Learning to study breast cancer data. To do so, Rachel would like to use the (non-public) “Breast Cancer Biormaker” dataset that has been made available on the Cancer Research Centre Datasite.
 Owen, Data Owner:#
Owen is a laboratory data manager in the Cancer Biomarker Research group. Owen is responsibile to organise, and curate the database of clinical data collected from anonymised patient samples. Due to legal and regulatory constraints, this dataset cannot be made publicly available, nor any of its copy can leave the premises of their research centre. Nonetheless Owen is very keen on allowing researchers to feature the “Breast Cancer Biomarker” dataset in their projects. So Owen sets up a PySyft Datasite hosting the dataset. As Data Owner, Owen will be responsible to
upload the data
manage credentials and user profiles
review any project proposal submitted by external data scientists.
Data Science Workflow#
The use case scenario we selected for this tutorial will help us dive into the various steps of the data science workflow enabled by PySyft:
Step 1. Owen sets up the new Cancer Research Centre Datasite by (a) uploading the non-public “Breast Cancer Biomarker” dataset, and (b) configuring login credentials for Rachel to access the Datasite.
Step 2. Rachel connects to Cancer Research Centre; prepares their machine learning code to work with the “Breast Cancer Biomarker” dataset; and submits their research study to the Datasite.
Step 3. Owen, as the data owner of the Datasite, receives the request, and reviews Rachel’s code for approval.
Step 4. Once approved, Rachel is ale to remotely execute their code on the Datasite, and get the results of their machine learning study using the “Breast Cancer Dataset”.
In summary, by using PySyft:
Owen unlocks Rachel’s research by allowing them to use the “Breast Cancer Biomarker” dataset in their study, under privacy guarantees.
Rachel is able to remotely run their code on the “Breast Cancer Biomarker” dataset through PySyft, without seeing the data itself.
In this tutorial, we will learn how! 🤓
Structure of the tutorial#
The tutorial will be organised into five parts. Each part will focus on a single data science workflow step, and will highlight all the relevant features of PySyft. At the beginning of each part, the learning objectives will be emphasised, along with the expected achievements to complete.
Part 1: Datasets and Assets
Part 2: Clients and Datasite Access
Part 3: Propose the Research Study
Part 4: Review Code Request
Part 5: Retrieving Results
Getting ready#
We will assume you have PySyft installed. You can tell PySyft is installed and which version by running the following command in a shell prompt (generically indicated by the $ symbol):
$ python -c "import syft; print(syft.__version__)"
If PySyft is installed, you should see the version of your installation. If it isn’t, you should get a Python error telling ModuleNotFoundError: No module named 'syft'.
This tutorial is written for PySyft 0.9 release, which supports Python 3.10 or later.
For further information on how to quickly install PySyft, or for advice on how to setup your environment if you’re using an older version of PySyft, please refer to the PySyft quick installation guide.