Part 2: Clients and Datasite Access#
Once our new cancer-research-centre Datasite has been setup with the newly created datasets (and assets), the next step for Owen will be to configure the access credentials and policies, in order to enable Rachel to operate on the Datasite as Data Scientist.
What you will learn:#
By the end of part 2, you will learn:
How to reconnect to a local development server, restoring persistency;
How to modify default admin credentials for a Datasite;
How to register a new user to a Datasite as Data Scientist.
 2.1. Reconnecting to the Datasite#
At the end of part 1, after uploading the “Breast Cancer Dataset” to the Datasite, we called the data_site.land() function to shutdown the server.
To reconnect we can now call the syft.orchestra.launch function again, using the same value for the name parameter, namely name="cancer-research-centre".
However, this time, we are going to explicitly pass reset=False (i.e. default for the parameter) so that we make sure that persistency is restored. In other words, when we reconnect to the Datasite,
we will expect to find the “Breast Cancer Dataset” already uploaded on the Datasite.
import syft as sy

data_site = sy.orchestra.launch(name="cancer-research-centre", reset=False)

# logging in as root client with default credentials
client = data_site.login(email="info@openmined.org", password="changethis")
Let’s quickly double-check that the Breast Cancer Dataset is present, and accessible through the available datasets:
client.datasets
It is indeed! 🤓
Persistency using a local dev server
The important take away lessons here are (a) using the same name for the local development server will guarantee continuity and persistency throughout multiple instances; (b) use the reset=True parameter only the first time, or when you want to re-initialise the whole server.
2.2. Updating default admin credentials#
When we connected to the Datasite for the first time in part 1, we emphasised that Owen was initially using the credentials provided by default in PySyft.
As part of Owen’s operations to setup the cancer-research-centre Datasite, it is now the time for them to set their own credentials, and to update their profile information.
http://127.0.0.1:51403/getting-started/part1-dataset-and-assets.html
The PySyft client instance allows to refer to the current logged user via the account property. More details on updating accounts are available here.
To update email, and password, we can use the functions client.account.set_email([new_email]) and client.account.set_password([new_password]), respectively.
To update profile information, we can use client.account.update([name, institution, website, role]).
OWEN_EMAIL = "owen@cancer-research.science"
OWEN_PASSWD = "cancer_research_syft_admin"

client.account.set_email(OWEN_EMAIL)

# we can bypass the confirmation by using the confirm=False parameter
client.account.set_password(OWEN_PASSWD, confirm=False)
Let’s now change Owen’s profile information:
client.account.update(name="Owen, the Data Owner",
                 institution="Cancer Research Centre")
Let’s now immediately test our new credentials by instantiating a new (root) client, and accessing registered users info:
client = data_site.login(email=OWEN_EMAIL, password=OWEN_PASSWD)
client.users
As expected, the new credentials worked, and all the information in Owen’s profile have been updated accordingly! 🤓
From now on, the next time Owen’s will connect again to the Datasite, they will use these new set of credentials.
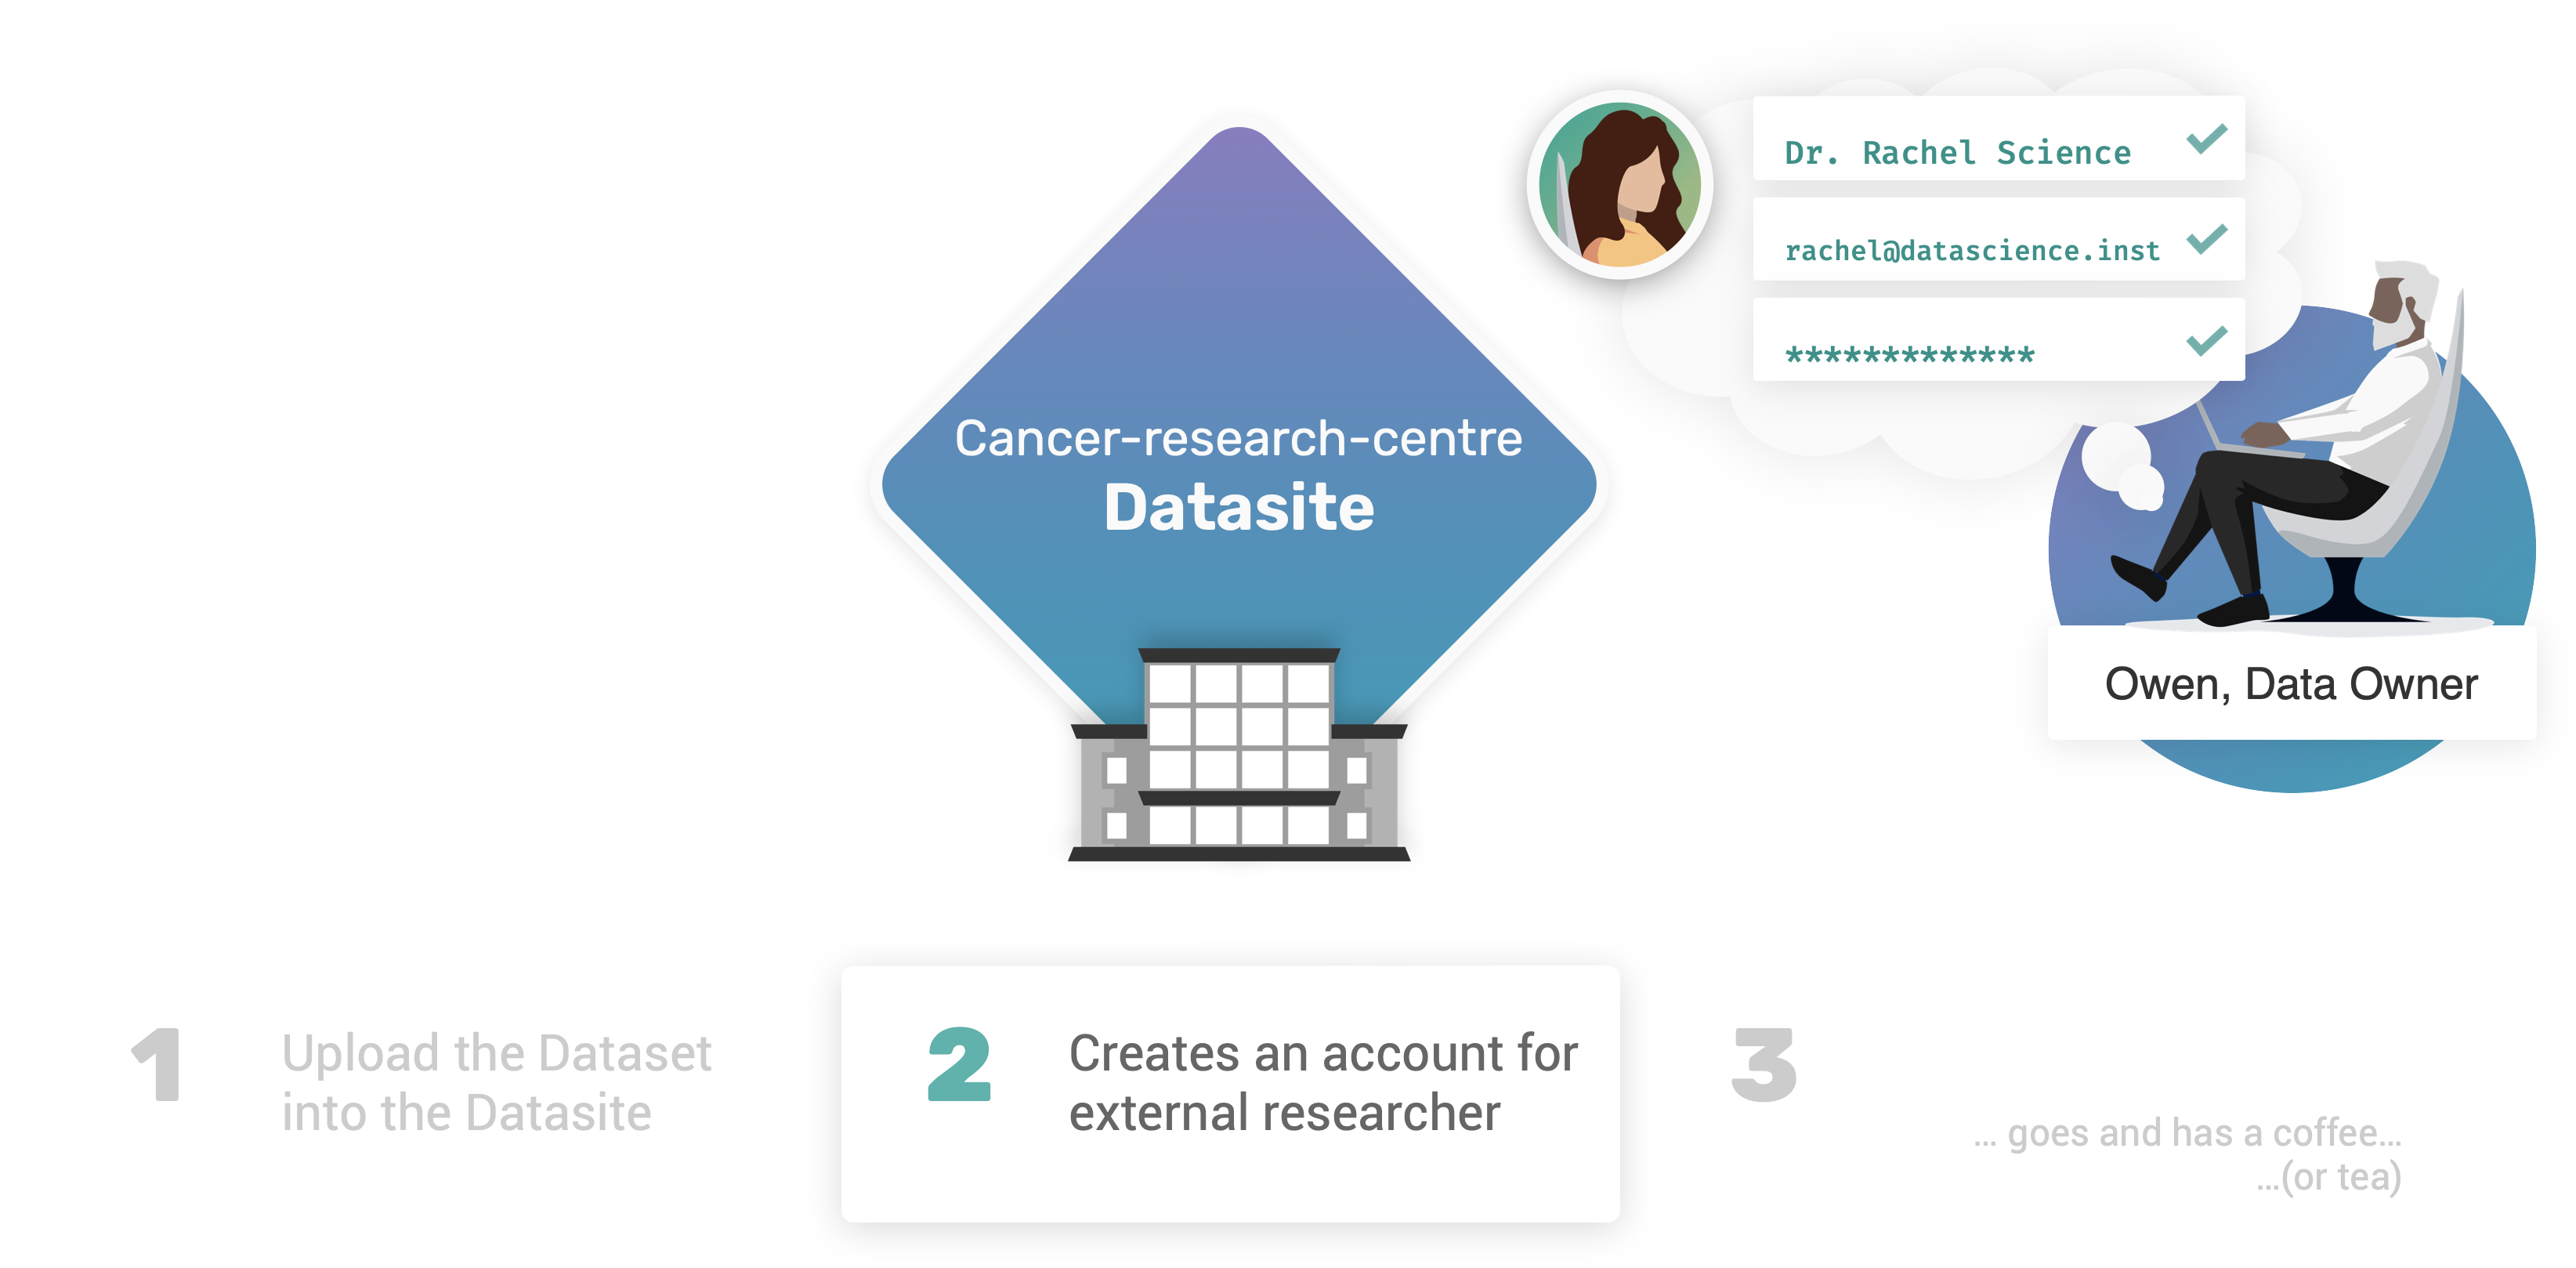
2.3. Register Rachel’s Account#
The last problem Owen needs to solve is to allow Rachel to connect to the Datasite! In other words, Owen needs to add a new user on the Datasite, to be registered with the role of Data Scientist! There are multiple ways to do it are available and we present one below.
We can use the client.users.create() function, which expects the following parameters:
name(type: str): mandatoryemail(type: str): mandatorypassword(type: str): mandatorypassword_verify(type_str): mandatoryinstitution(type: str): optionalwebsite(type: str): optional
Let’s use this function to create a new account for Rachel:
rachel_account_info = client.users.create(
    email="rachel@datascience.inst",
    name="Dr. Rachel Science",
    password="syftrocks",
    password_verify="syftrocks",
    institution="Data Science Institute",
    website="https://datascience_institute.research.data"
)
The function returns a UserView instance, including read-only information about the newly created account.
print(f"New User: {rachel_account_info.name} ({rachel_account_info.email}) registered as {rachel_account_info.role}")
By default, the new account for Rachel has been registered to the Datasite by default as data scientist.
To verify that the account has been successfully added to the Datasite, we can see again the list of available users:
client.users
Congrats on completing Part 2 🎉#
Well done for completing part 2 of the tutorial! 👏
By now, our new cancer-research-centre Datasite is fully configured! We have hosted a new syft.Dataset including assets for features and targets for the “Breast Cancer Biomarker” data, and we have also created the access credentials to allow Rachel to access the node.
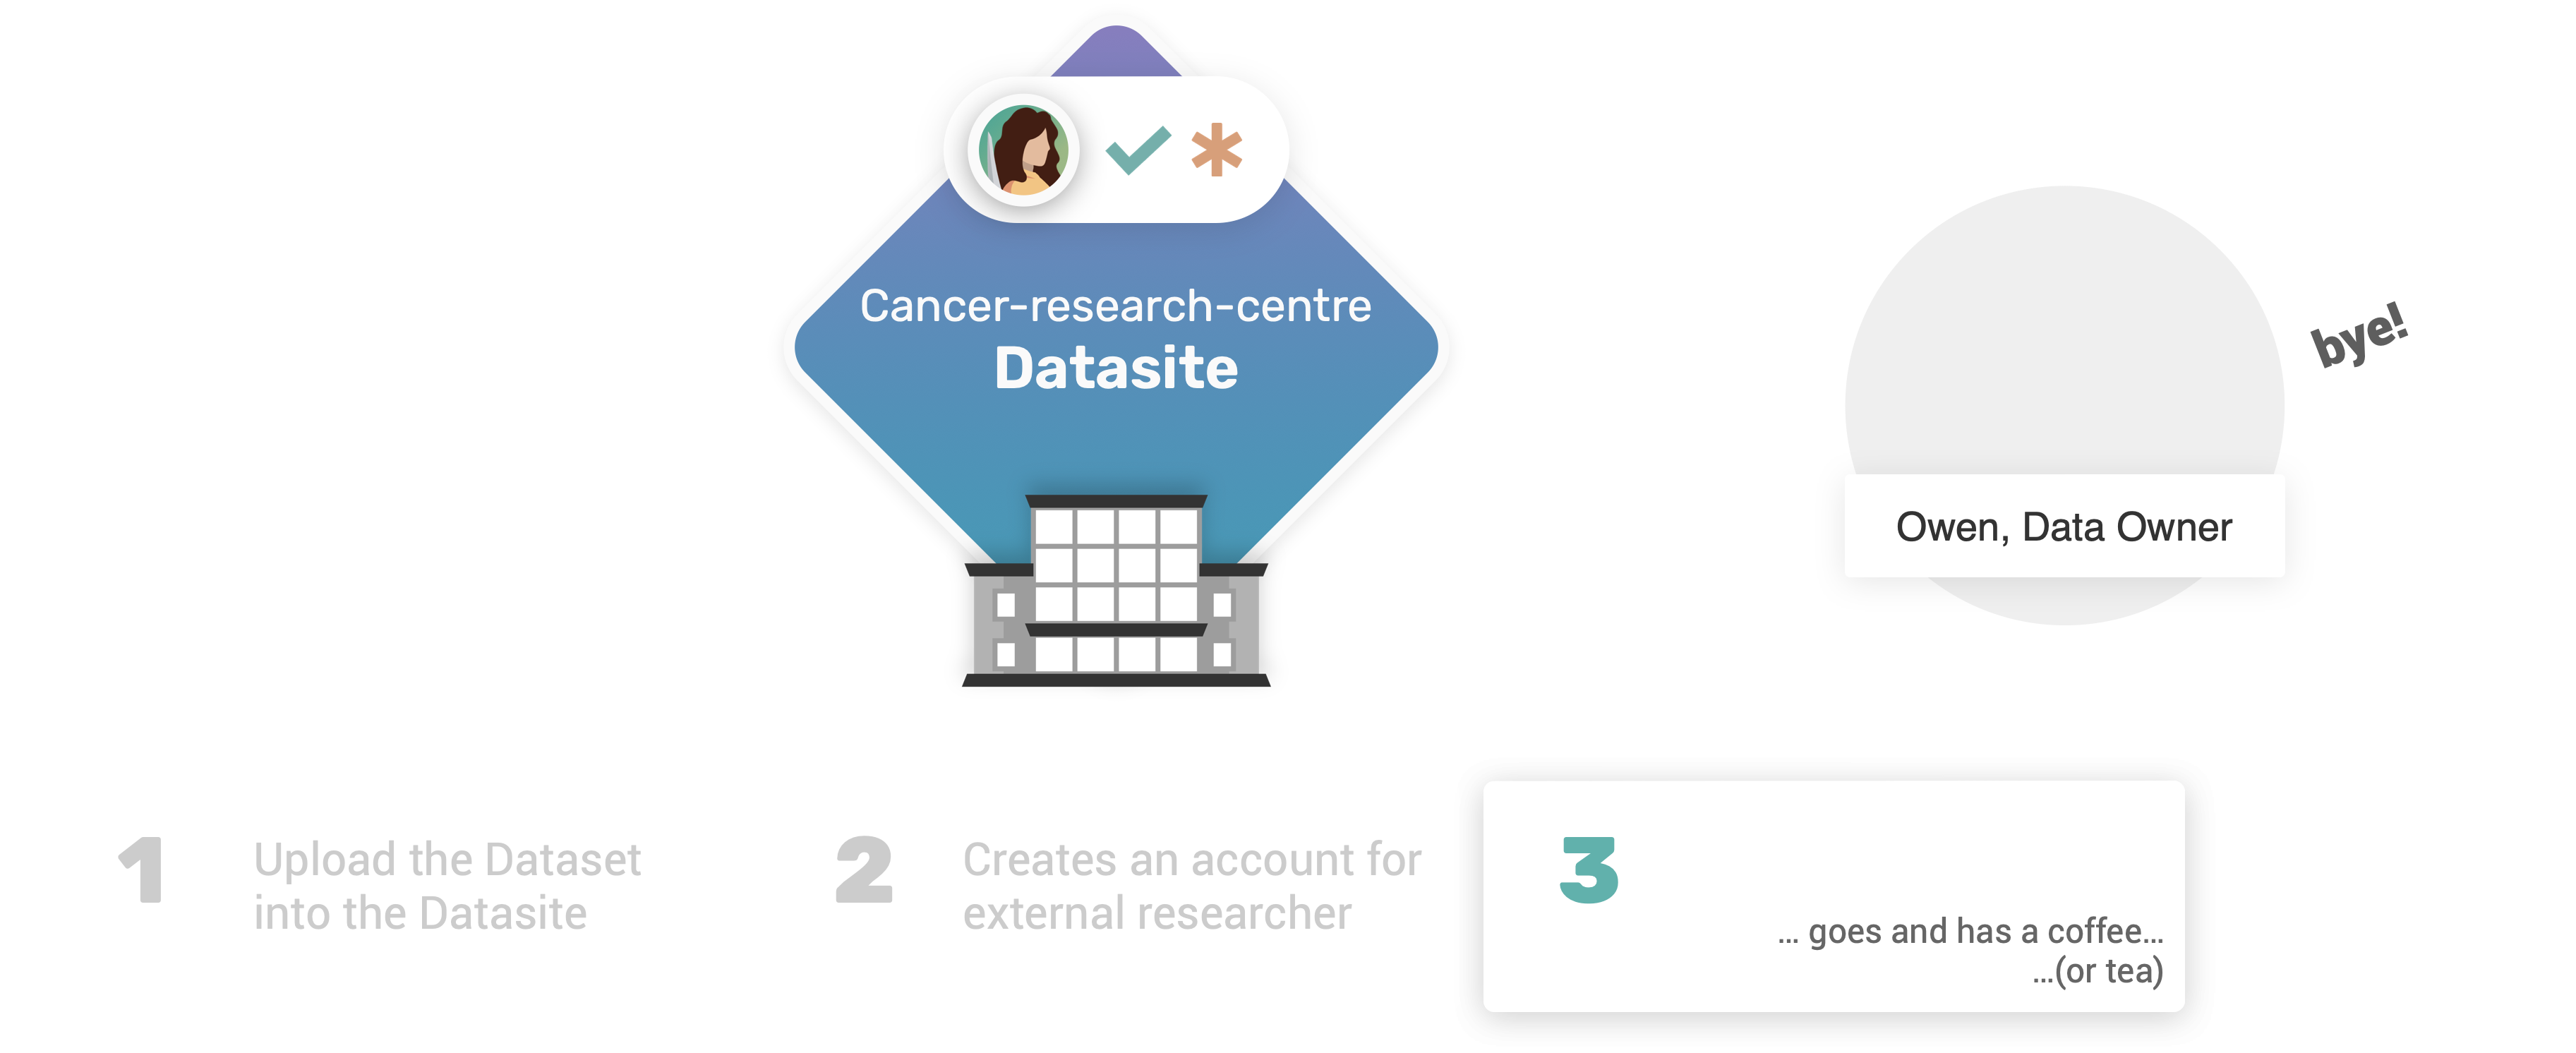
Owen’s job as Data Owner is complete for now!
In the next part 3, we will explore how the workflow would look like from an external data scientist perspective, who is willing to run their study on the dataset hosted on our Datasite.